
If you own a truck camper, RV, boat trailer, or utility trailer, then you are familiar with the mechanical jack. They come in all shapes and sized. I will be taking apart two different jacks and showing you what’s inside of a jack, and common points of failure.
The mechanical jack is a simple device. It normally consists of two metal tubes, one fitting inside the other. The top has a crank handle connected to gears, which turns a long screw that separates the two metal tubes. The long jack screw can get rusted, the gears can break, or the shear pins can break or fall out. These are the most common failures.
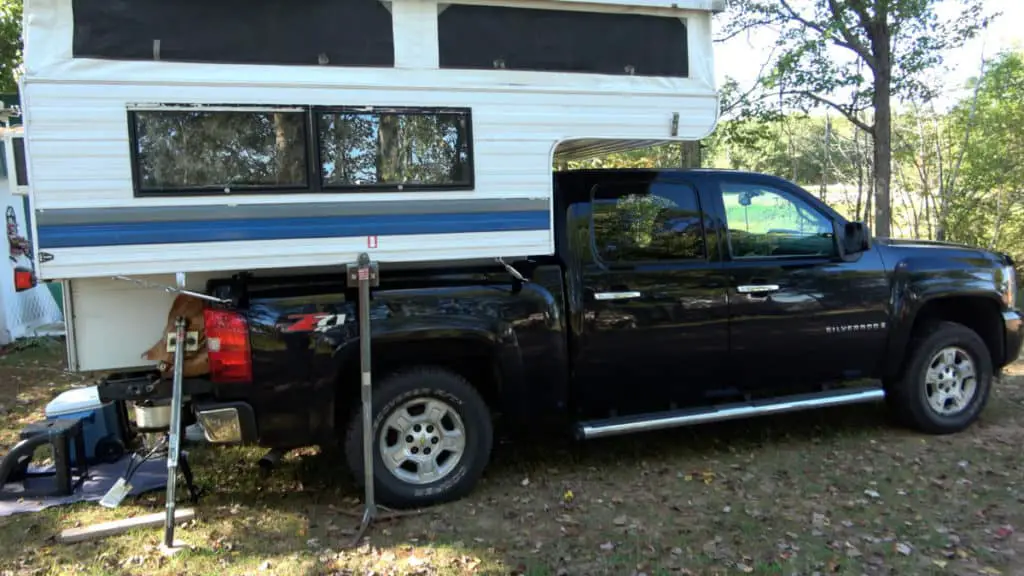
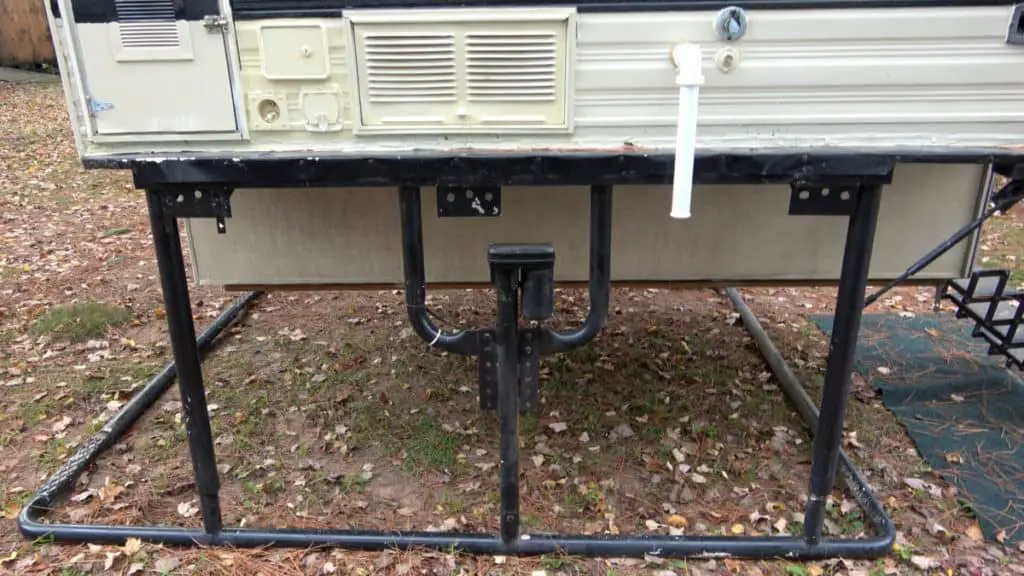
My buddy Reggie and I both have the same truck camper. The difference being, he has manual hand crank jacks, and I have a stable lift with electric jacks. Both of us are having trouble with jacks that are hard to turn. I will be showing you how I repaired both types of jacks in great detail.
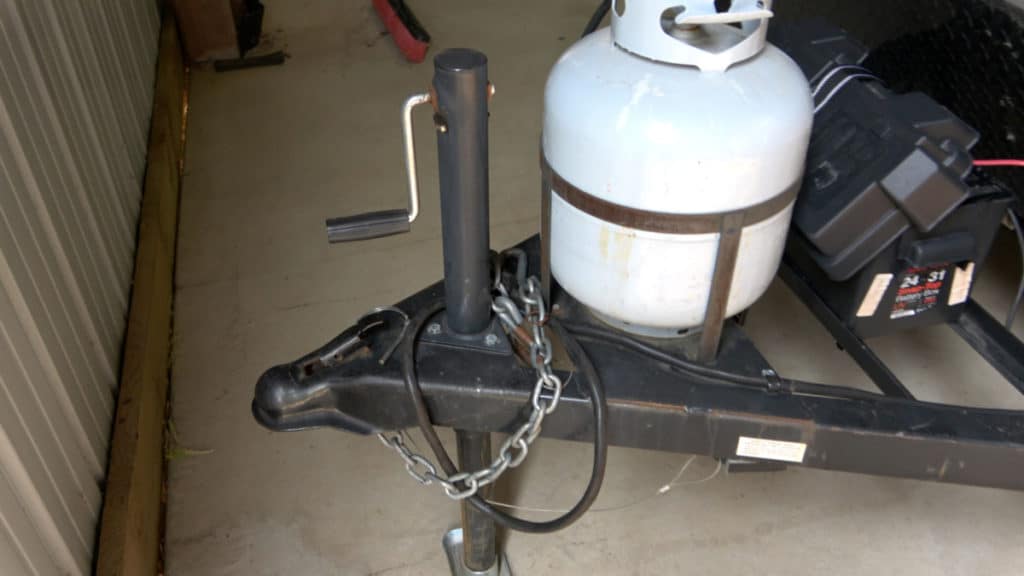
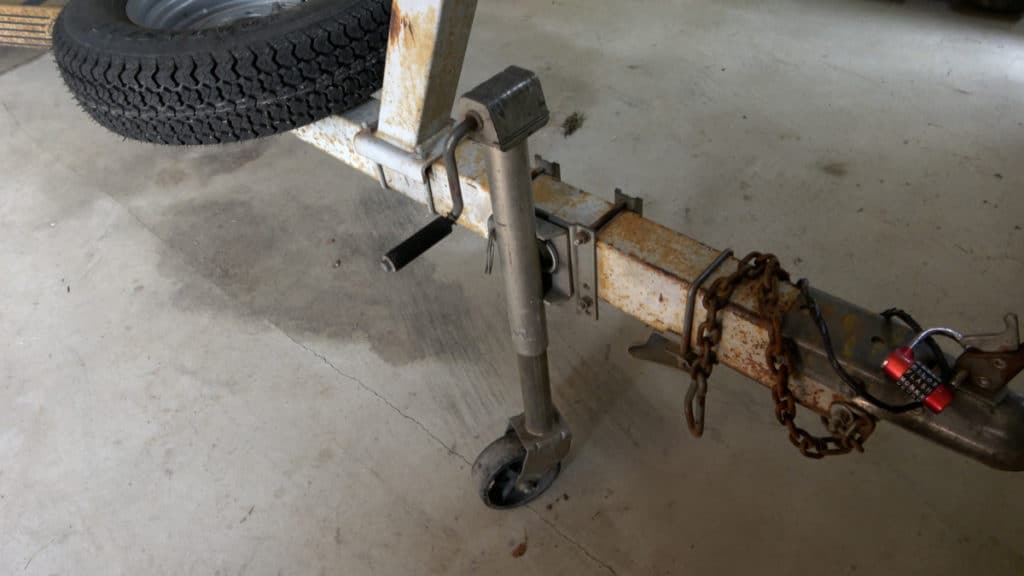
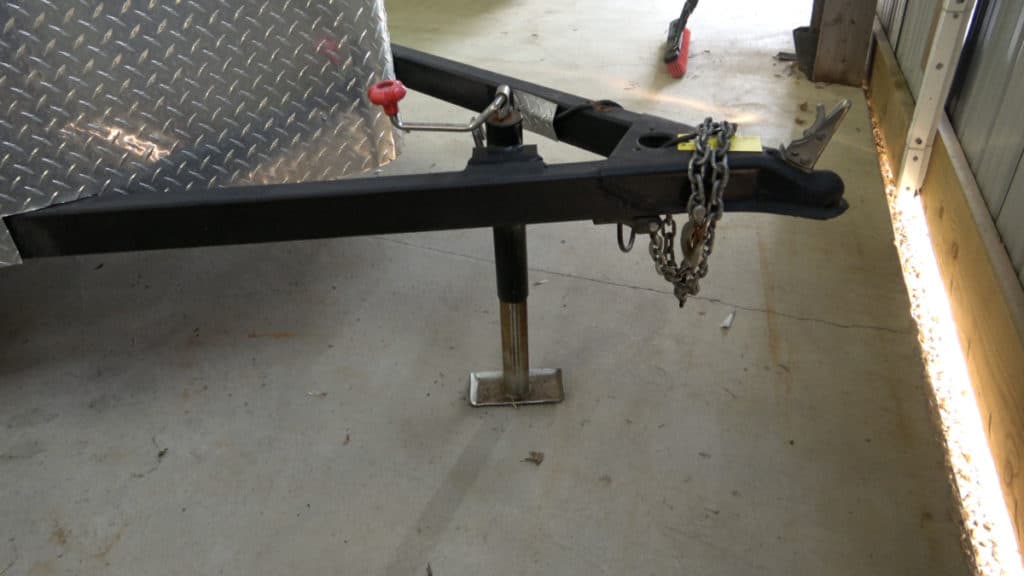
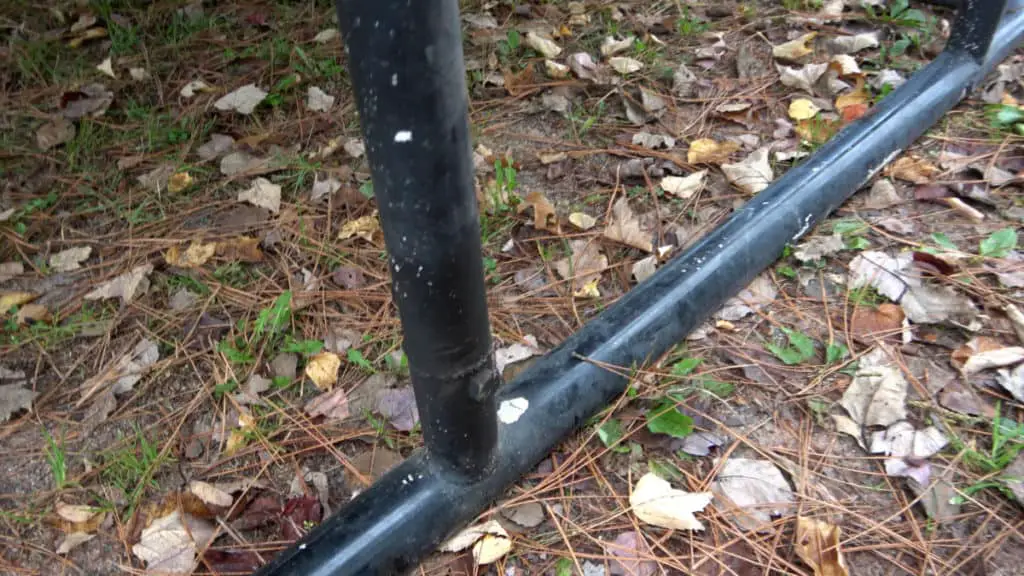
Even though I will be working on camper jacks, the same principals apply to any similar jacks you might find on a variety of trailers. Below are a few examples. Notice the crank handles, and how they attach, are all different.
Lets start with Reggie’s camper. The jacks on his camper are pretty old. I’m not sure what brand it is, but it is similar to a Rieco-Titan camper jack. Just one of these jacks costs around $250! So you can see how cost effective it is to be able to repair your existing jacks.
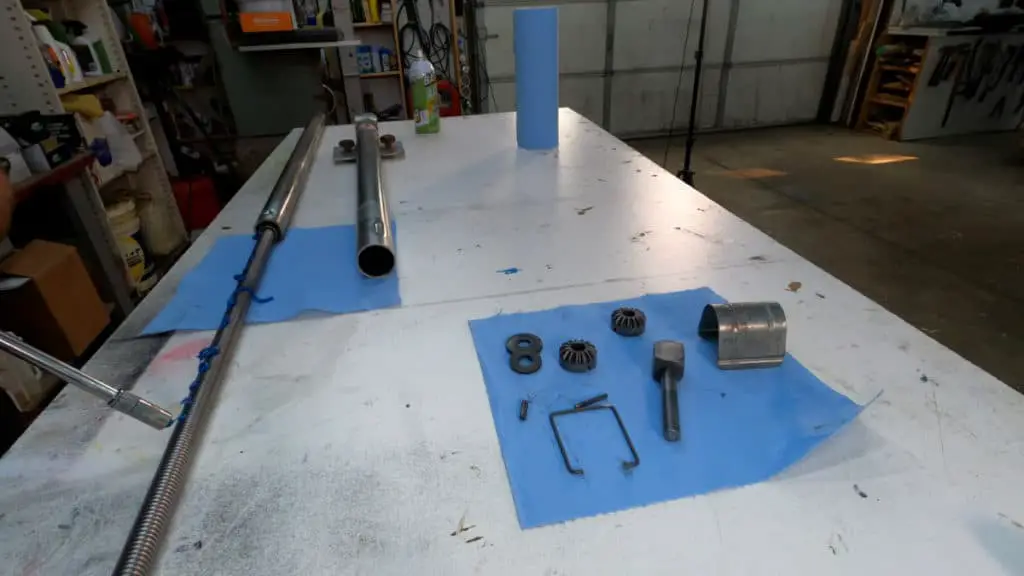
Repairing A Hand Crank Camper Jack
The first step is to remove the top cover to get to the gears and the shaft that connects the handle.
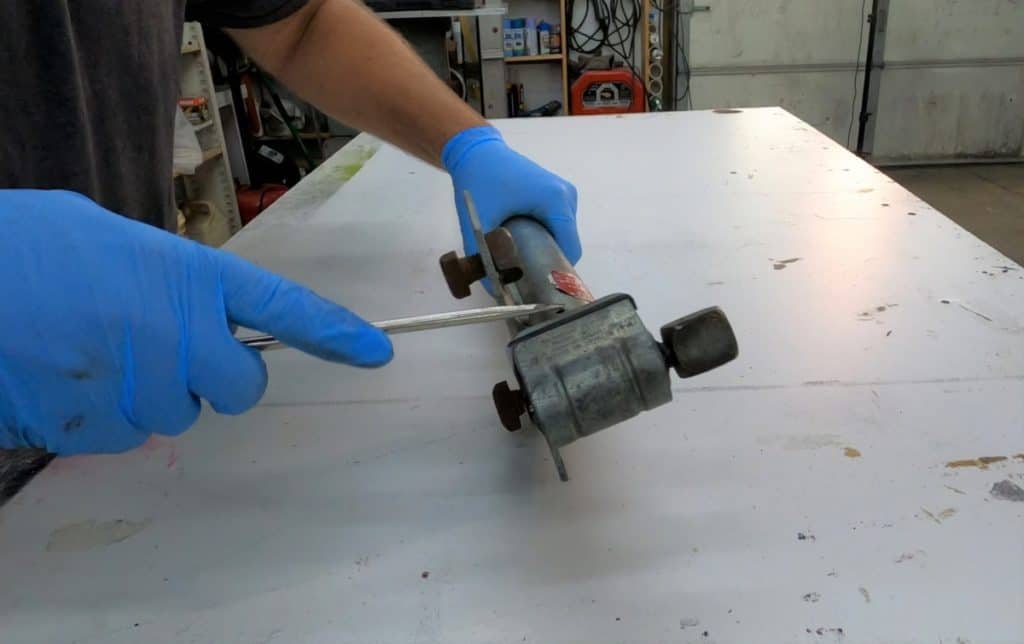
In this case, you remove a metal band that holds the cover on. For jacks with a side handle, you normally just pop off a plastic plug in the top of the tube.
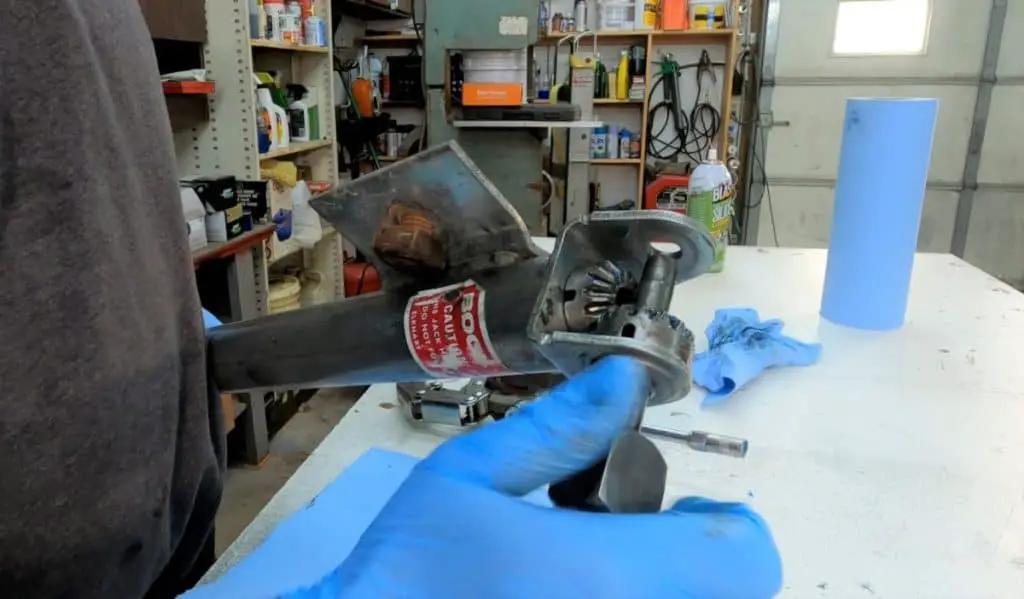
You will normally see two gears. The top gear has the handle shaft running through it. See the hole through the side of the top gear? That is where you will find the shear pin. It goes into the gear and through the shaft for the crank handle. If your handle just spins but doesn’t do anything, this is likely the cause. Just replace this pin. If you need an emergency repair, you can always shove a nail or something similar through that hole to make it work.
If your handle turns but intermittently gets stuck, or has grinding sounds, then you might have some broken gears. In this case, you will need to order new replacement gears.
To remove the pin, hit it with a small punch. If you can’t get it all the way out, put a small nail in the hole and hit it with a hammer. The pin will go shooting out the other side, so be sure to keep an eye on it. Then pull out the shaft and the top gear.
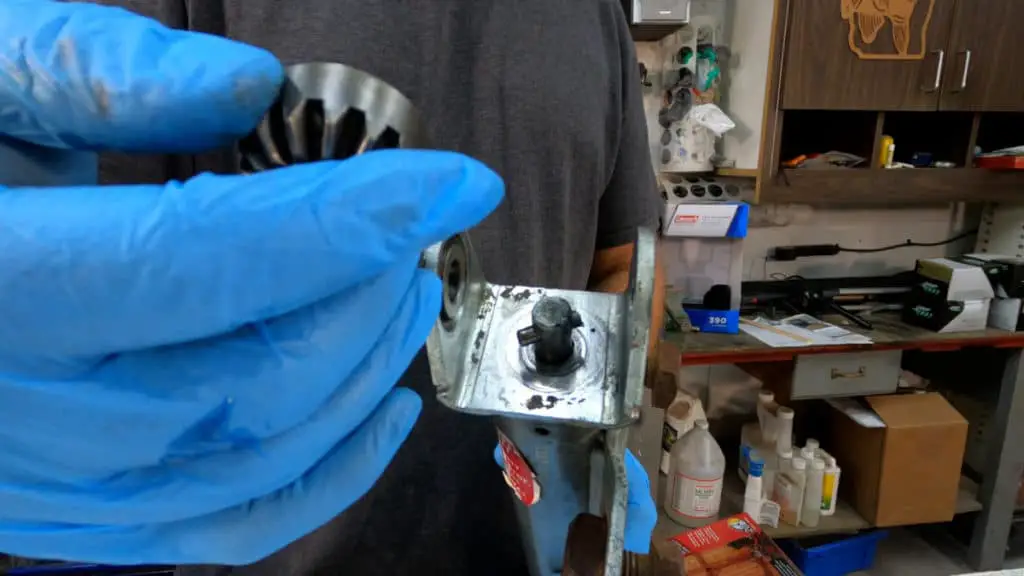
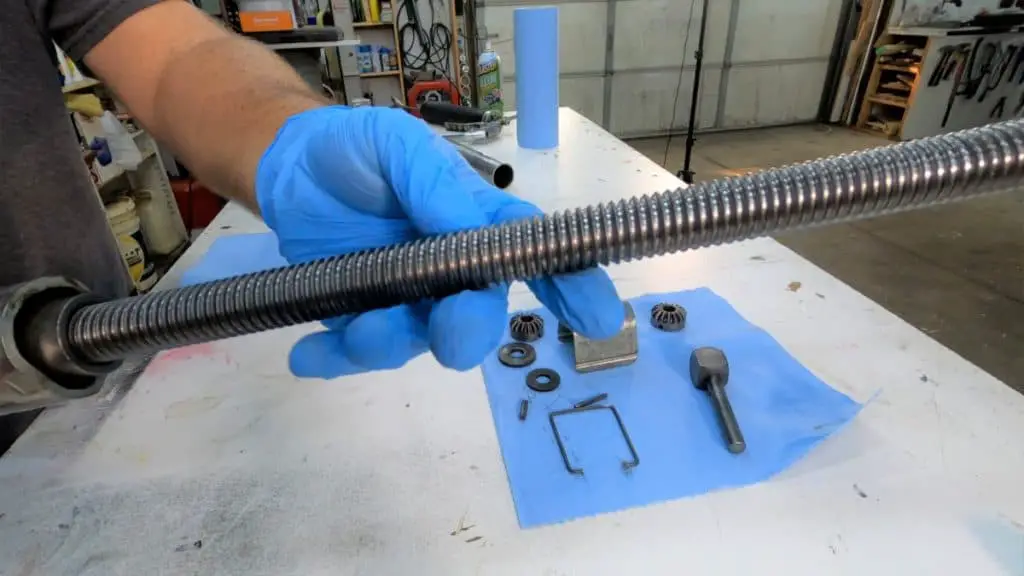
The bottom gear will lift right off. It sits on top of another pin. This pin is removed easily just by pushing on it with your fingers. You can now see the jack screw sticking out of the hole in the top of the tube.
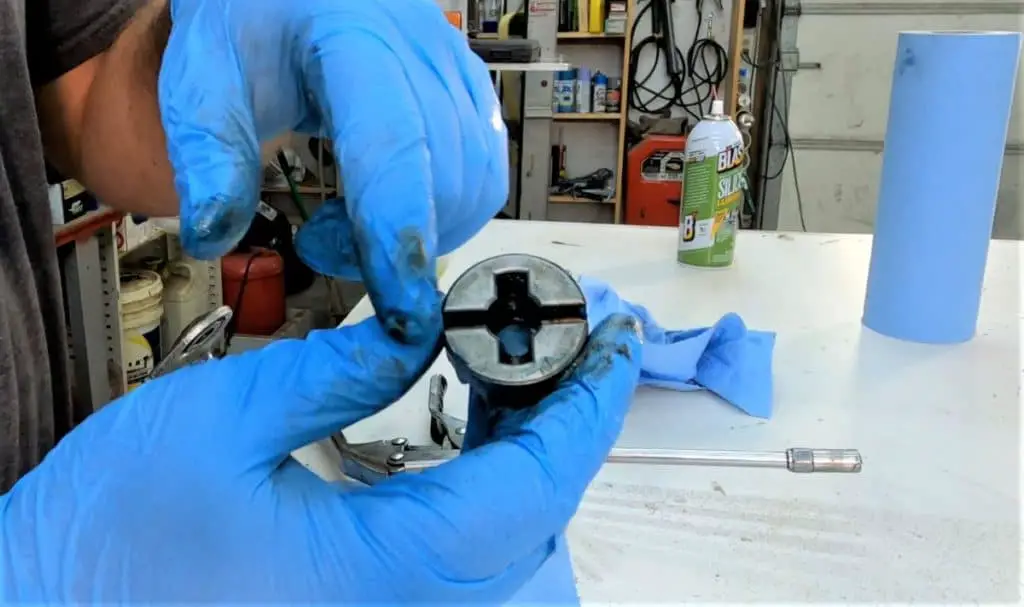
Underneath the gear has two slots. One goes all the way through. That one is used for the shear pin. The shorter slot is for the pin on the bottom gear. Both gears are identical.
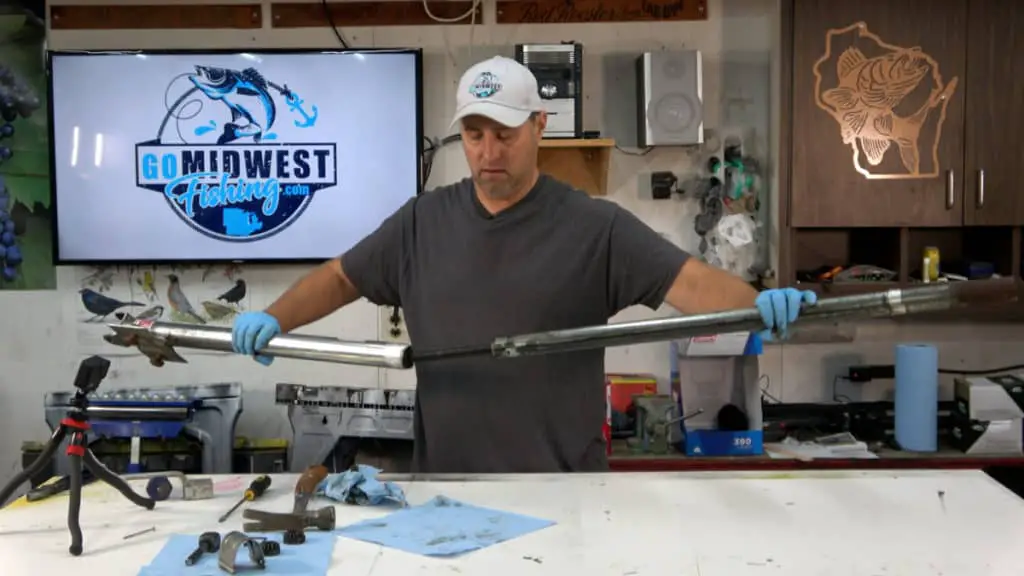
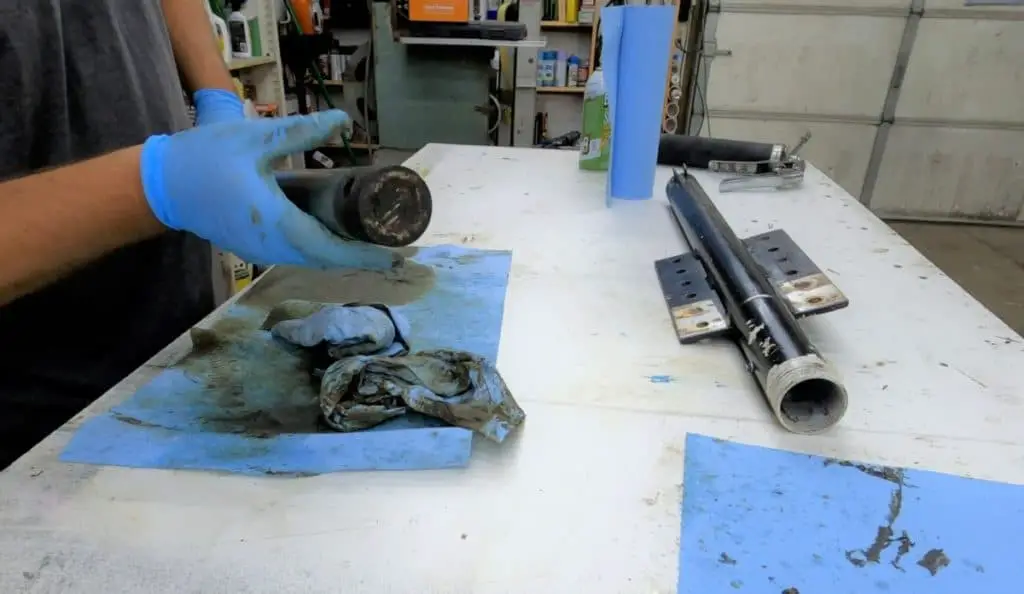
Now your jack is ready to separate into two pieces. Just grab each end and pull apart. This will expose the jack screw. In this case, I believe it was the jack screw that was causing the problem. The jack screw was really dirty and gummed up with old grease.
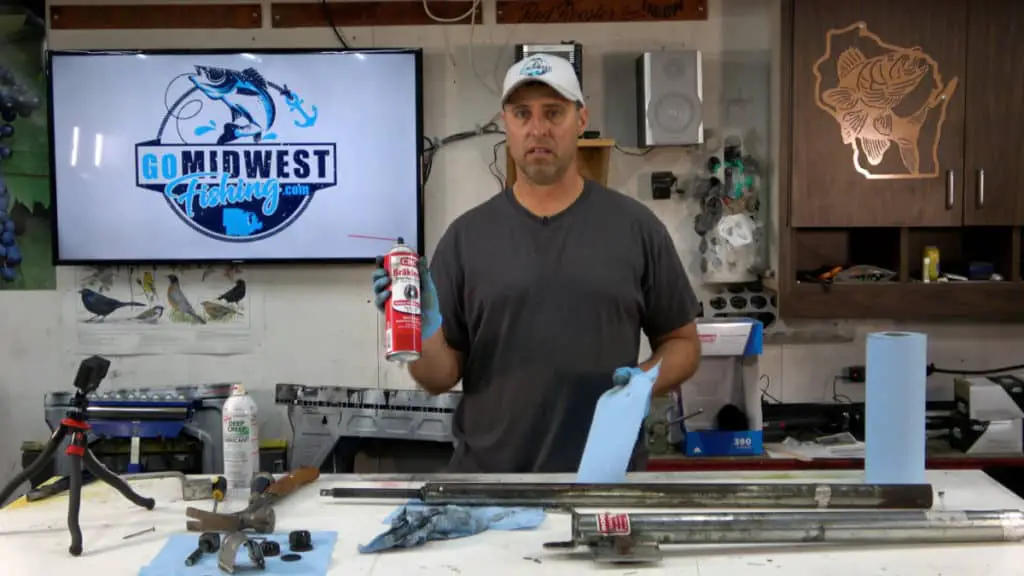
Now is a good time to clean it thoroughly. Have plenty of rags handy. Your going to need them! I use Scott Shop Towels. They work excellent for projects like this. For removing grease from metal parts, I find Brakleen works great. Just be careful where you spray it. It will damage some surfaces like plastic.
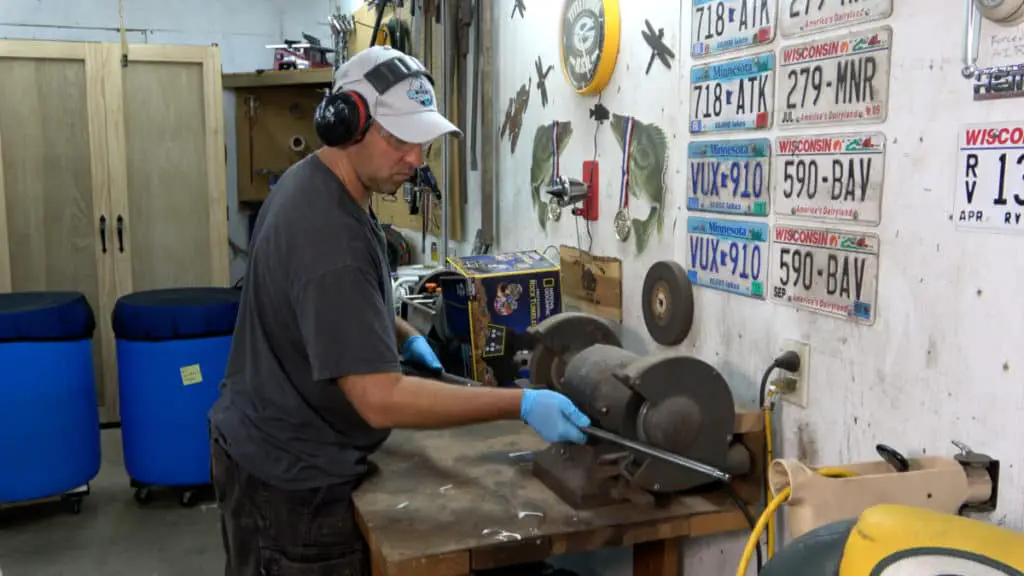
Next, I cleaned it up with a wire wheel on my bench grinder. Once it is shined up, check it over for damage. In my case, there was a small spot in the middle of the screw that had some nicks in it. They were just enough to notice when cranking up the jack, but not bad enough to stop using it.
On a side note, I tried removing the jack screw from the bottom tube, but found this is not possible. The bottom of the screw has a washer on the end that prevents it from coming all the way out. I even tried screwing it all the way in and out the other end. That didn’t work either.
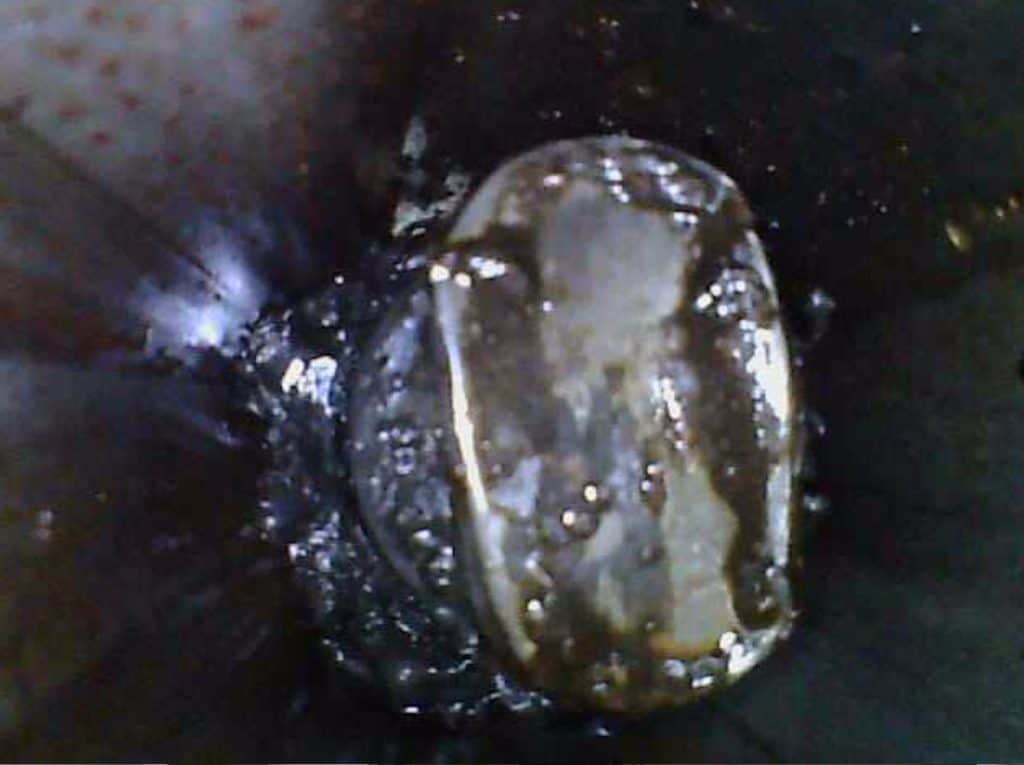
I used an endoscope to look inside the tube. You can clearly see the metal piece preventing it from being removed.
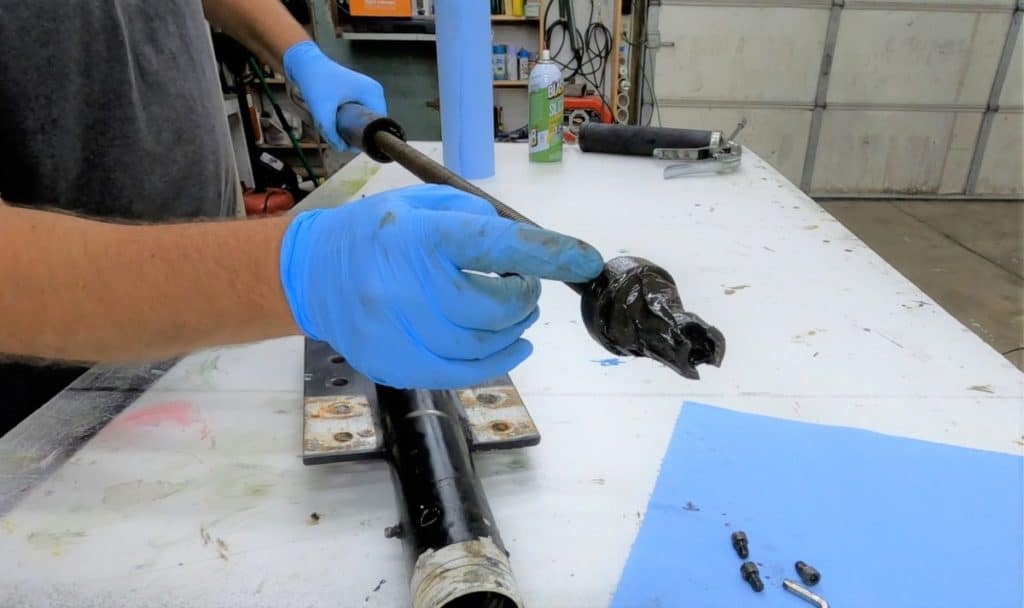
Now that everything is clean, I greased up the jackscrew and gears. Next, put the two washers on the top of the screw and insert it back into the larger tube.
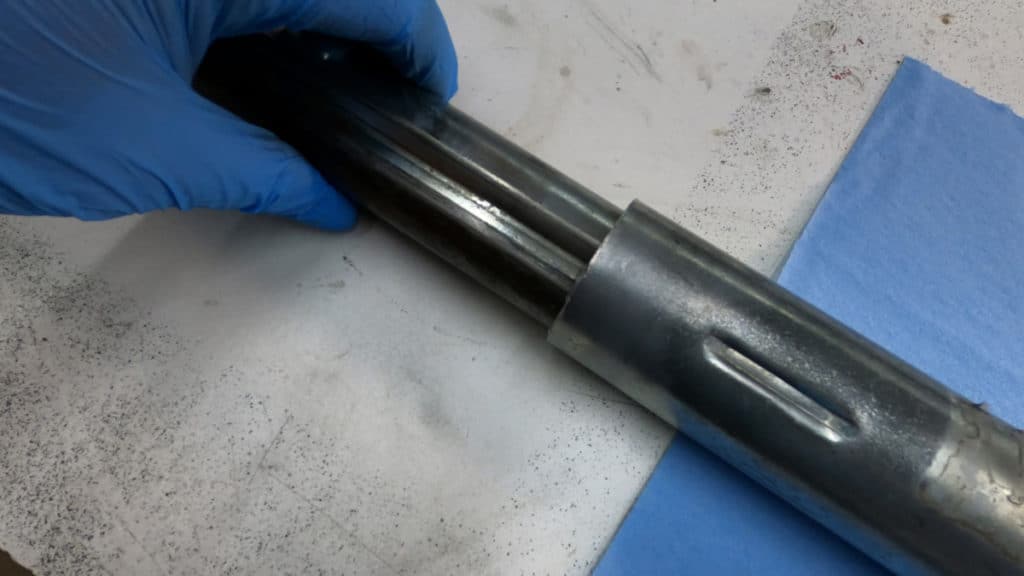
When fitting the tubes together, you will need to line up these two grooves. This prevents the lower tube from turning when the screw turns.
Now assemble all the gears back together. Put the cover back on, and wind it all the way up and down. If it works, you are good to go.
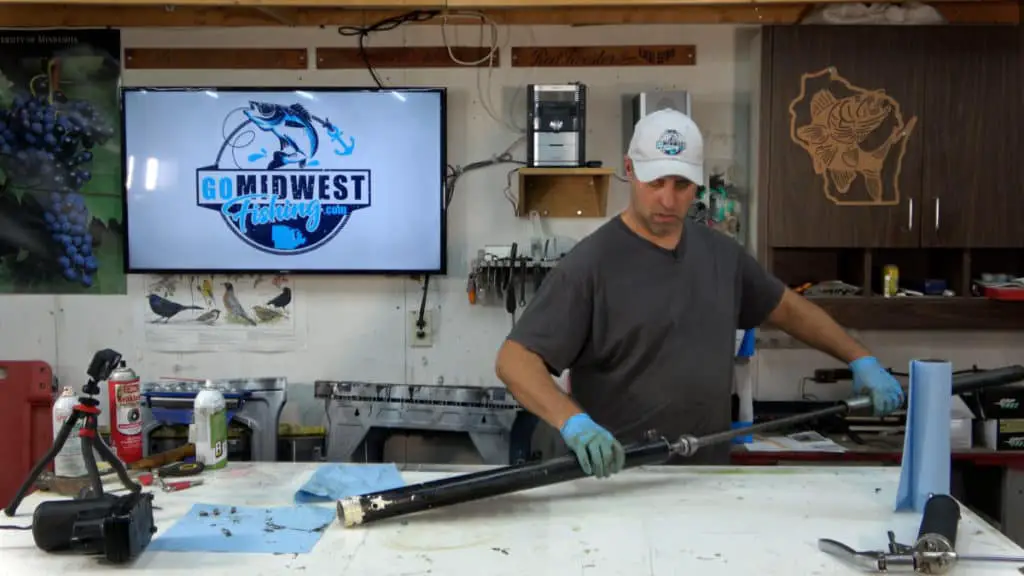
Repairing A Motorized Camper Jack
Next we will repair a jack from my truck camper. I have a stable lift which uses electric motors to crank the jacks. The jack itself is very similar to the other one. The main difference is how the jack screw is turned.
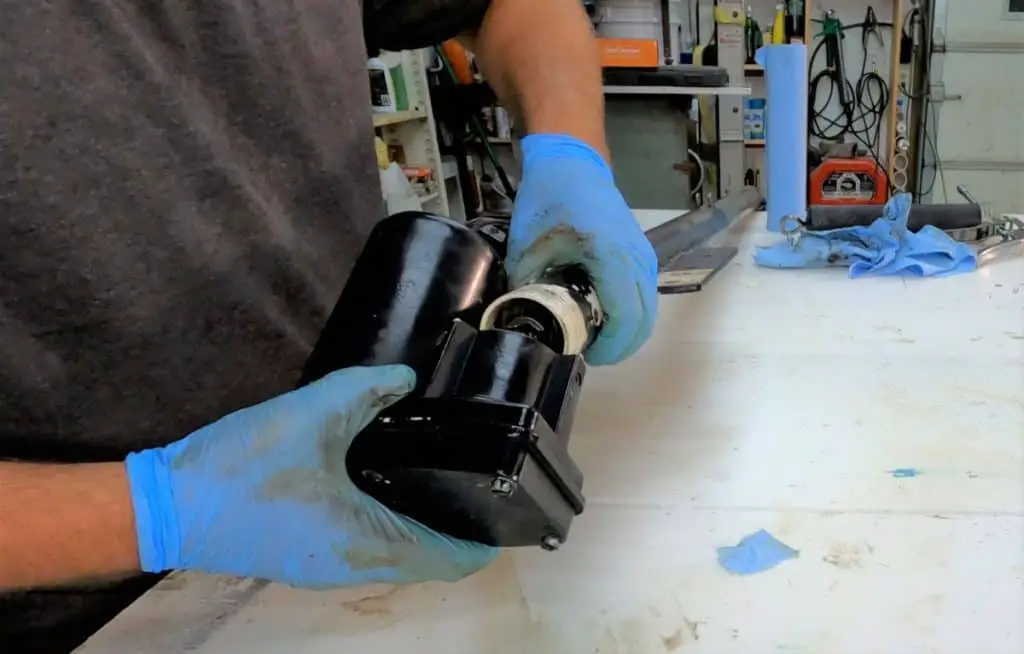
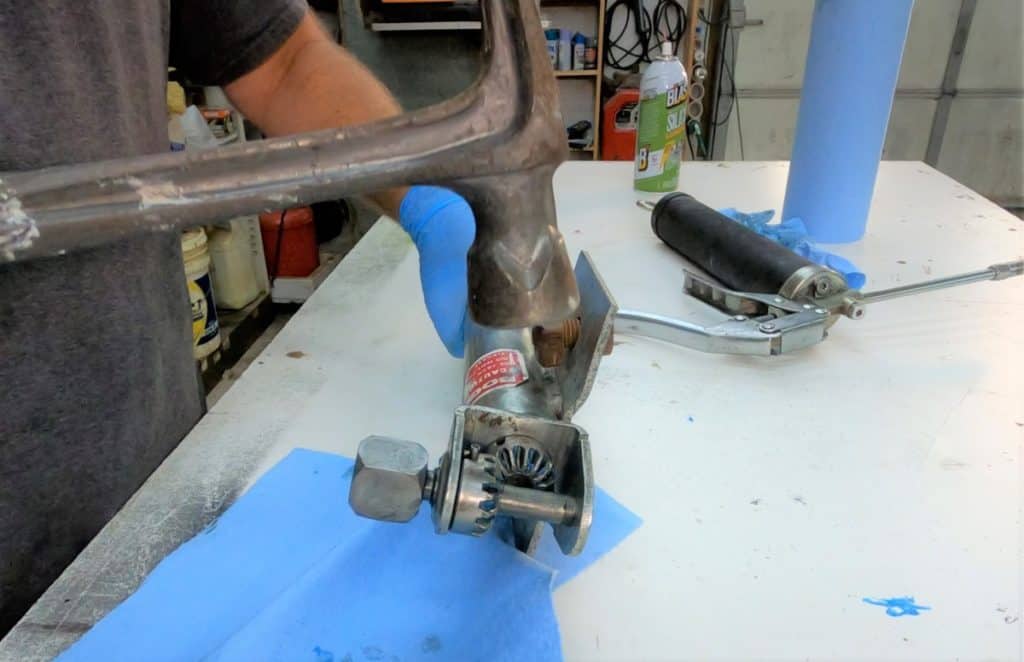
The motor is held on by three set screws. All I had to do is loosen these three screws and it pulls right off. All the gears are contained in the powerhead, so you can immediately see the jack screw.
To separate the jack, this one has three more set screws near the top that need to be removed. Then it pulls apart easily.
The difference with this jack, is that it has a bearing on the top of the jack screw. The three set screws you just removed, screw into this, to hold it in place.
This was another case where the jack screw was very dirty and full of old grease. It cleaned it off with brakleen once again, and shined it up on the wire wheel.
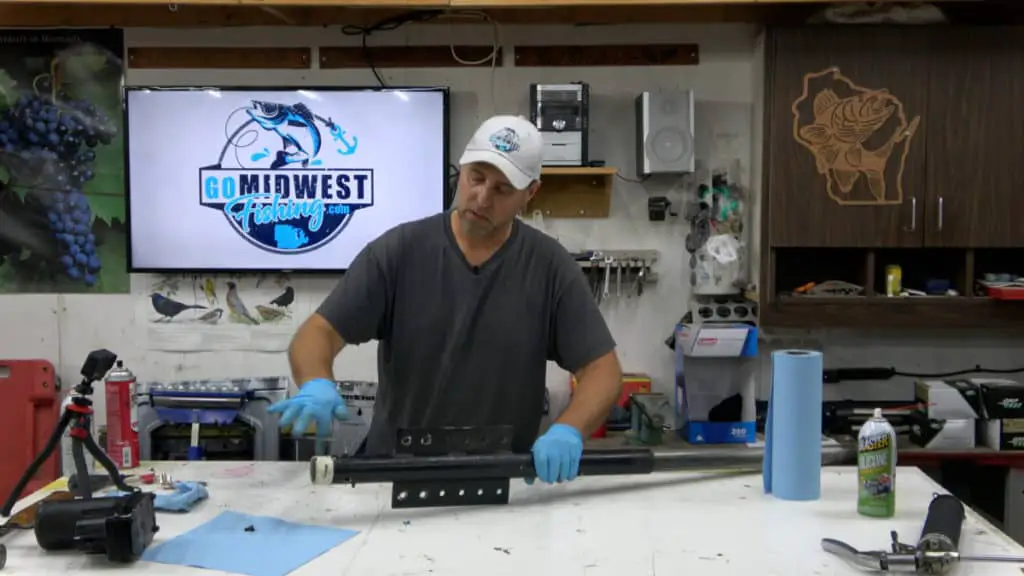
One of the bigger differences between this jack and the manual crank jack, is the end of the inner tube. This one has an enclosed end, which allowed a build up of dirt in the tube.
It also has a large hole going straight through it. This is where it attaches to the bottom ring of the stable lift. Since it is attached at the bottom, this keeps it from turning, which is why it doesn’t have that groove in the tube to keep it straight.
Now that it is all clean, I put new grease on it and slid it back together. Both jacks work much better now. As you can see, they are fairly simple, and easy to work on. Since new jacks are very expensive, I highly recommend you try fixing the ones you have first. I think this is a project that anyone with a basic knowledge of tools could tackle.
I hope this tutorial helped. When I was looking for information on how jacks work, I didn’t find what I was looking for, so I made this post for anyone with the same questions I had. I appreciate you taking the time to hang out with me in my shop and tackle another project. Don’t forget to take a look at my other blog posts. I have many others similar to this one.