
If you’re looking to buy a portable ice shack, the Otter brand shacks are a great choice. I did a lot of research before I bought mine, and the Otter Lodge was what I chose.
What I didn’t realize was how much time it would take to assemble it. If you buy a new shack in the box, be prepared to spend some time to get it ready for use. I will highlight some of the areas that might leave you wondering what to do.
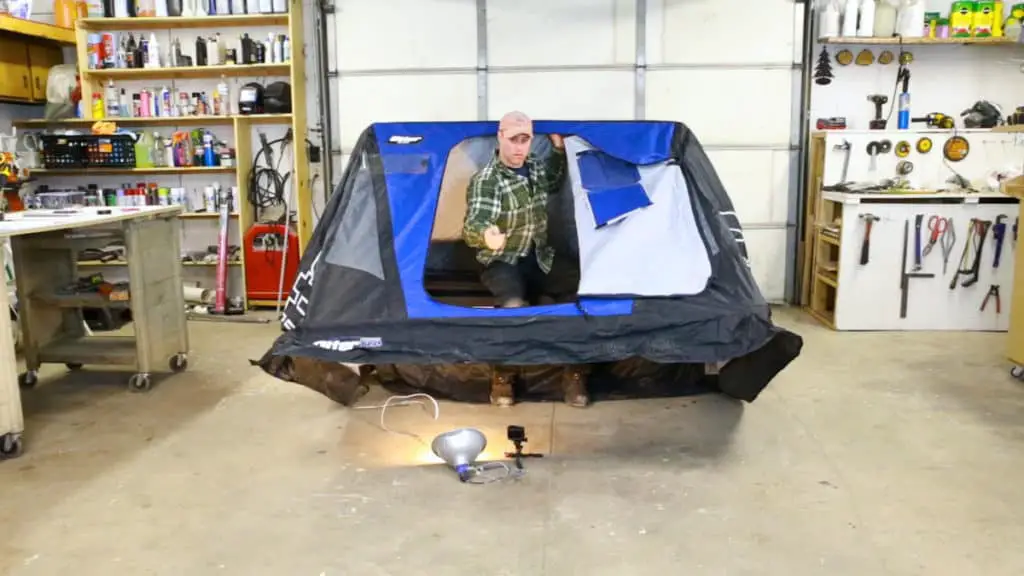
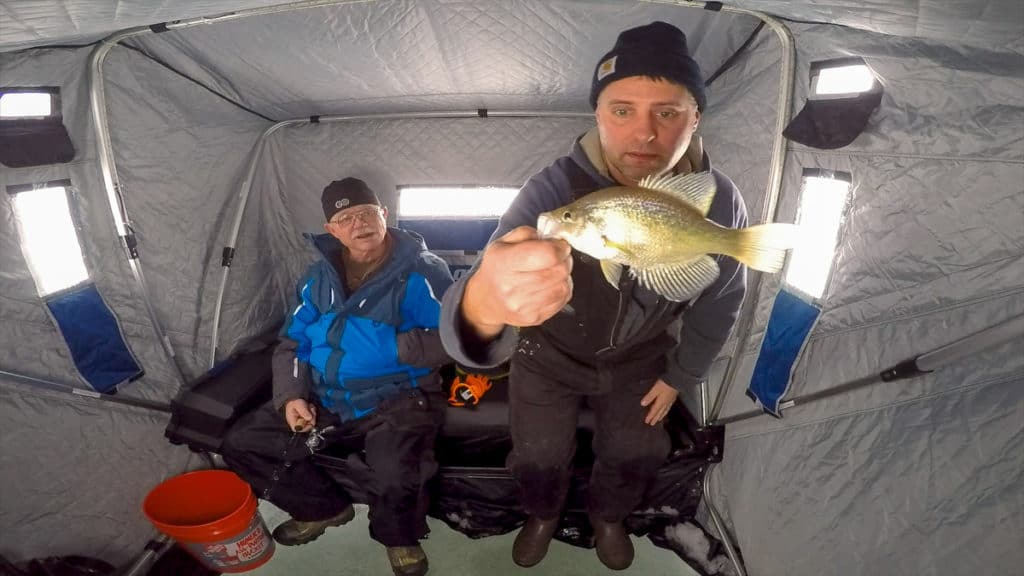
I made a detailed video showing the complete assembly of the whole project that you can watch below.
Why I Chose The Otter Lodge
Portable ice shacks come in a few different styles. I chose the flip over style on a sled. Portability was the main feature I was looking for. The flip over style is quick to take down, and because it is all contained in a sled, moving it is easy too.
The reason I went with Otter is because of the quality of the sled. It has a very durable and deep sled that can hold a lot of gear and take years of abuse pulling it across the lake. I also like that it has an insulated canvas, which makes a world of difference when heating the inside. Most newer shacks come with an insulated canvas now, so they are all pretty equal when it comes to that.
The Otters come in several sizes. I wanted the biggest one I could handle by myself. The Lodge will hold two adults comfortably, and a third kid. I have had three adults in there too. It’s tight but will work. It is just light enough to pull by hand. I can also load it in my truck by myself, but its not easy. I bring along some ramps to put on my tailgate, and then just pull it up the ramp, which makes the loading process much easier.
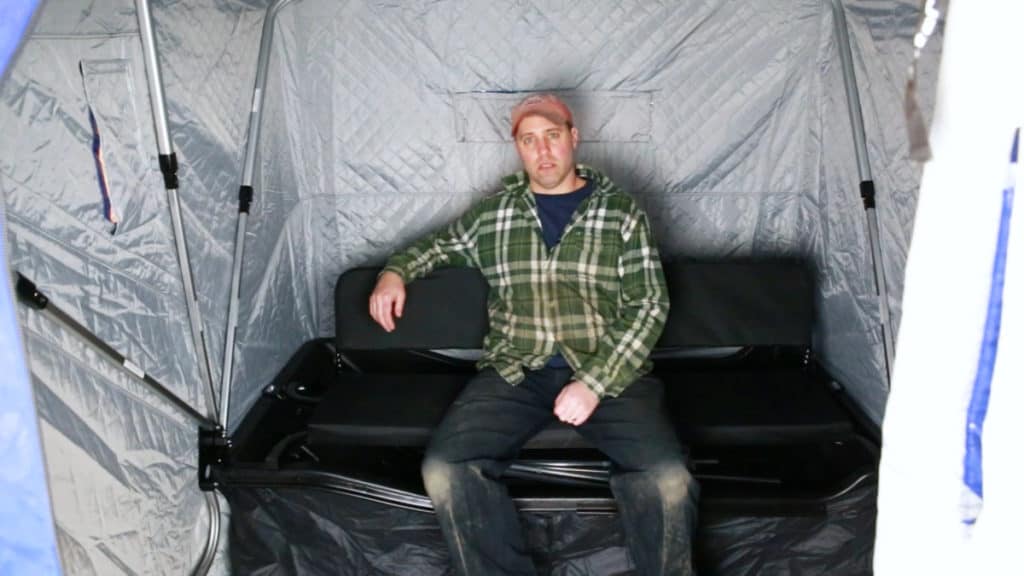
You have two seating options. The standard model has one long bench seat. The pro model has two movable bucket seats. I went with the bench seat so I could have the option of a third person when needed. The seat actually is quite comfortable too.
What Comes In The Box
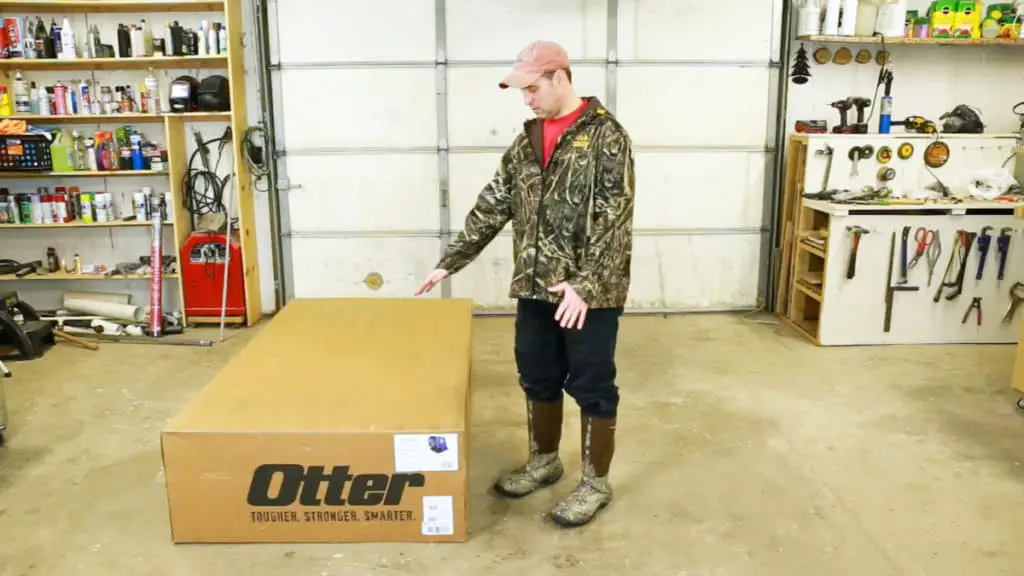
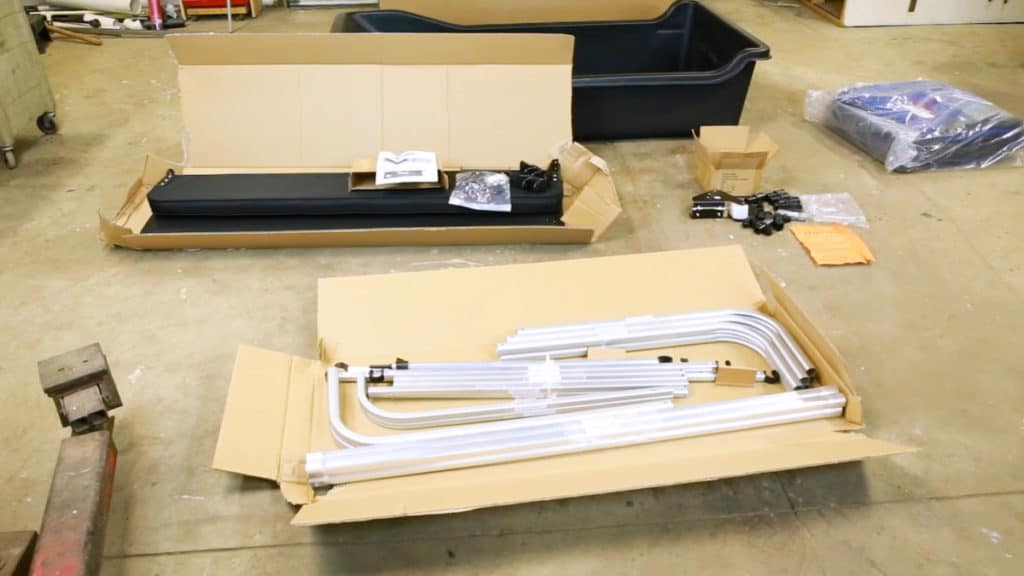
The box it comes in is quite big. It measures 76.5 x 41.5 x 17.5 inches. I’d recommend using a pickup truck to buy this thing.
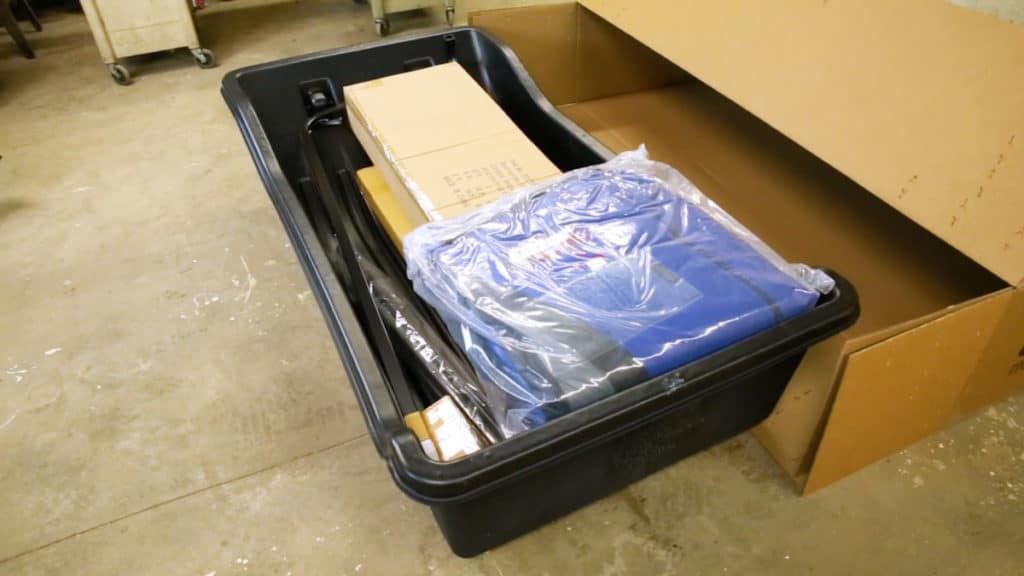
When you pull it out of the box, everything will be contained inside the sled. I had three boxes. One contained the bench seat, one had the frame pieces, and one small box with the hardware. The canvas will be folded up in a plastic bag, and there will be a couple of loose frame pieces for the bench seat.
Assembling The Bench
This consists of screwing metal frame pieces to the underneath. The pieces look a lot alike, but they are different, and must go on a certain way, so pay close attention to the directions.
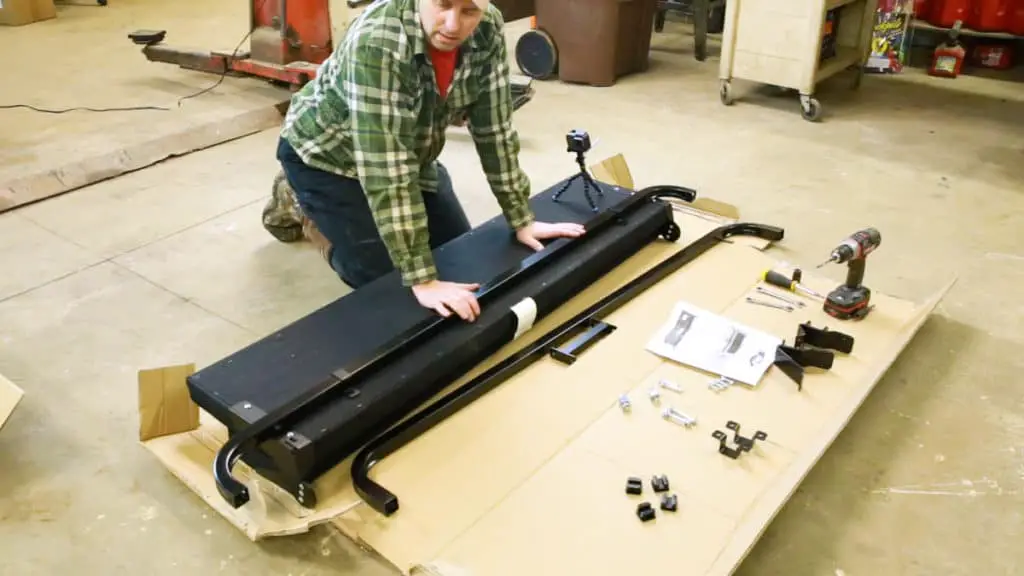
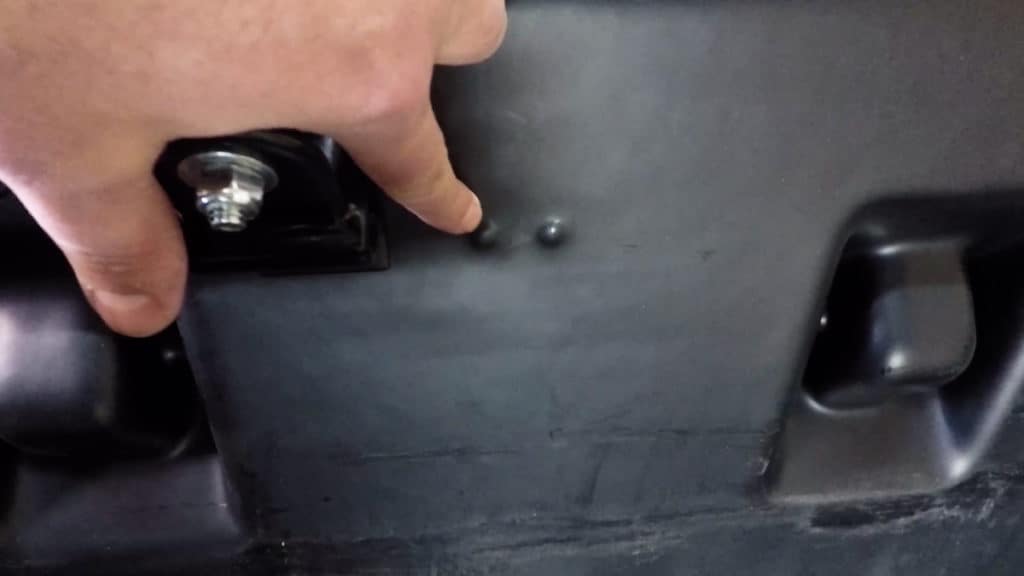
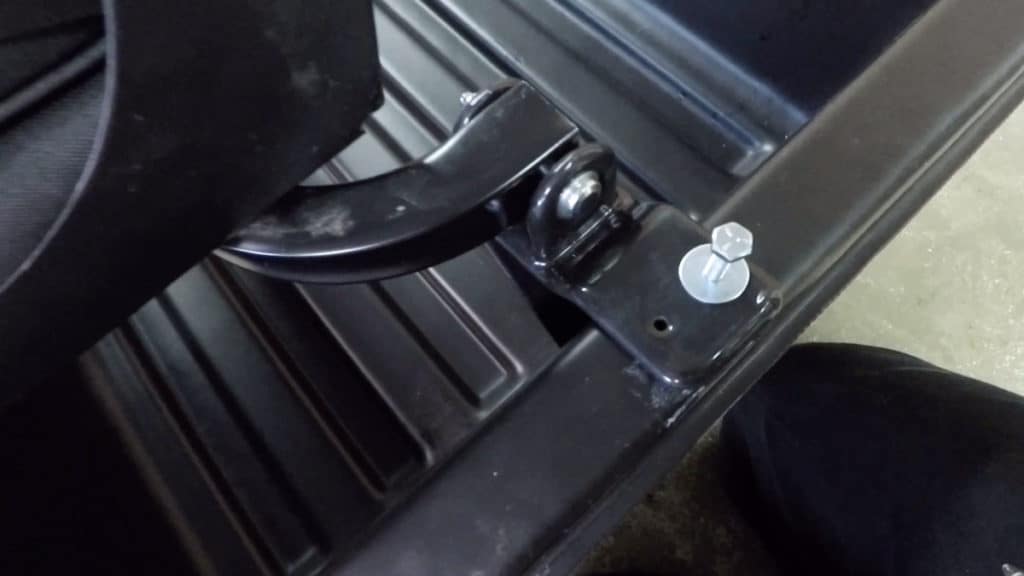
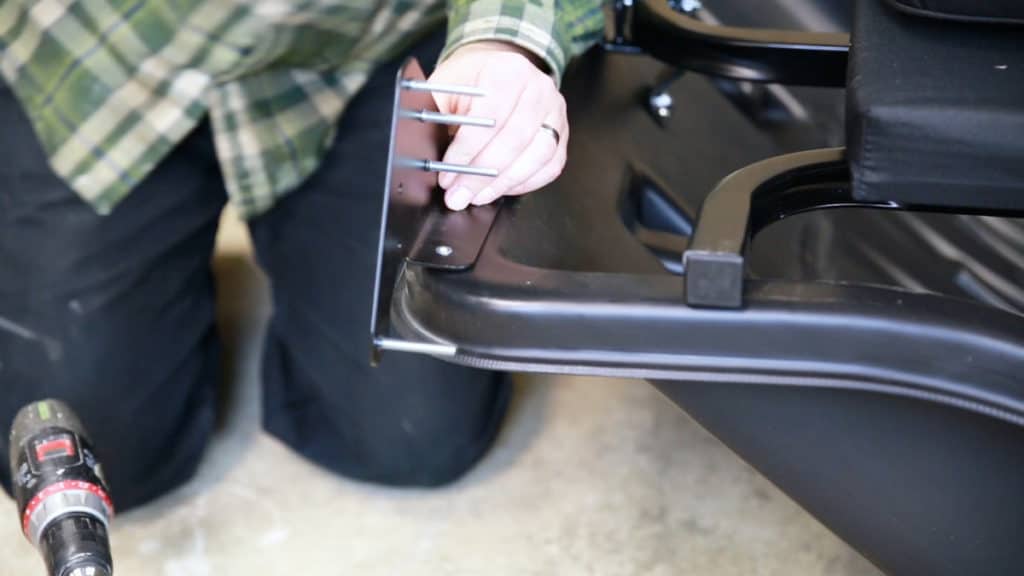
You will install rubber coated brackets on the end of the bench frame. The brackets then bolt onto the sled. They don’t have holes on the sled where the bolts go, but they do have small divots to mark where you must drill out holes.
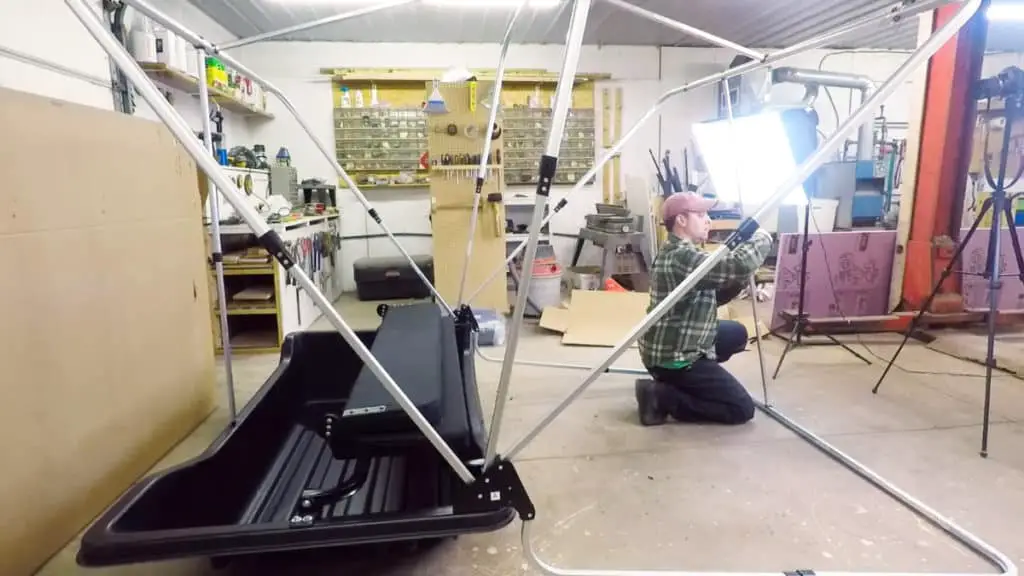
Assembling The Frame
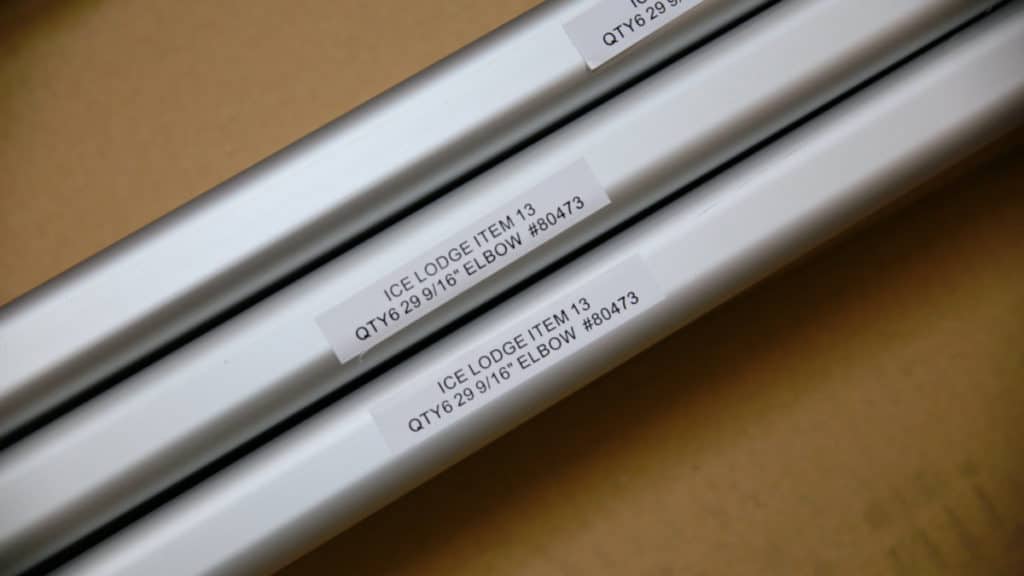
You will start by putting the bracket the frame attaches to onto the sled. Then open the box that contains all the frame pieces. They are nicely labeled, so pay attention to which one is which. Two of the frame pieces are the same, and the other two are different.
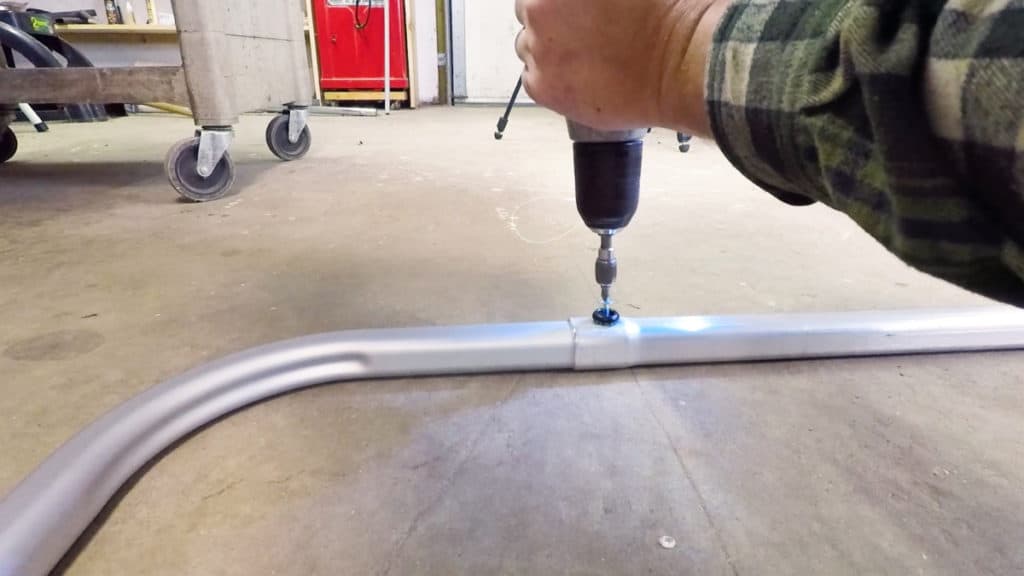
The frame pieces attach by screwing them together with some drill point screws into the the aluminum. I had a hard time getting the screws started, but once they pierced through they drilled right in.
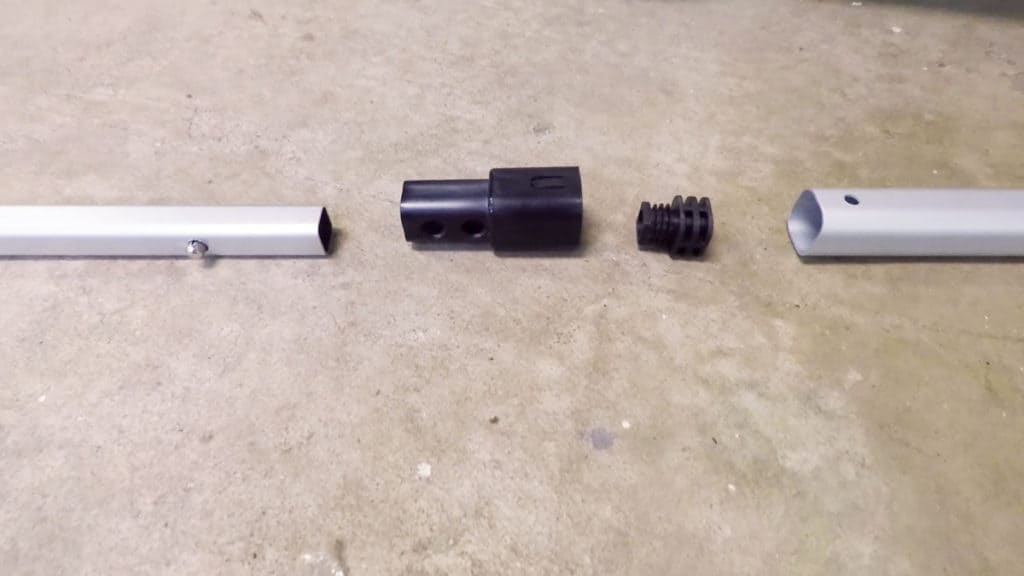
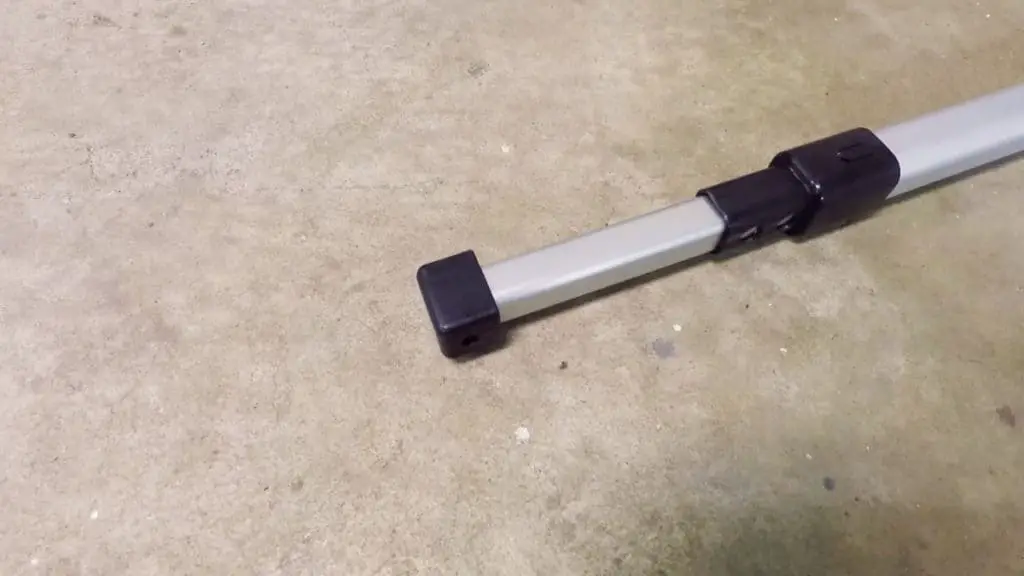
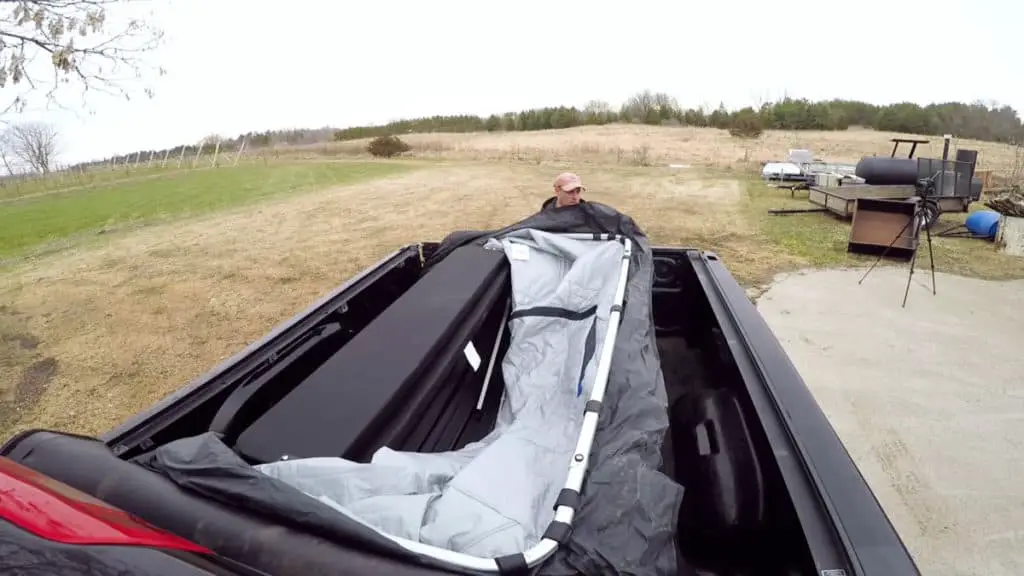
This is a collapsible frame, so it has two pieces that slide inside each other. It has a couple of plastic pieces that fit on the tubes where they slide together. Make sure you got the pieces in the right order before putting them together. It took me a couple of tries to get it right.
The bottom of the frame that attaches to the sled have a plastic piece with a hole in it. You have to pound this plastic end on so the hole matches up with the one on the aluminum frame. It does not go in easy.
Once all the frame pieces are put together, it’s time to bolt them to the bracket on the sled. Make sure you got them in the right order. It comes with a wind gust bar that fits between each one of the frames to keep them spaced evenly. You can install them now, before putting on the canvas.
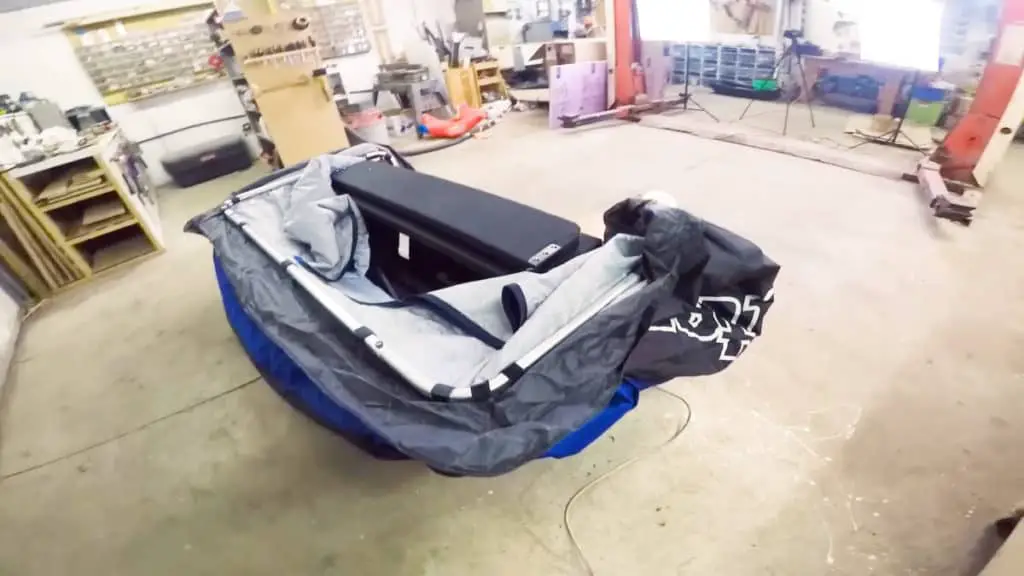
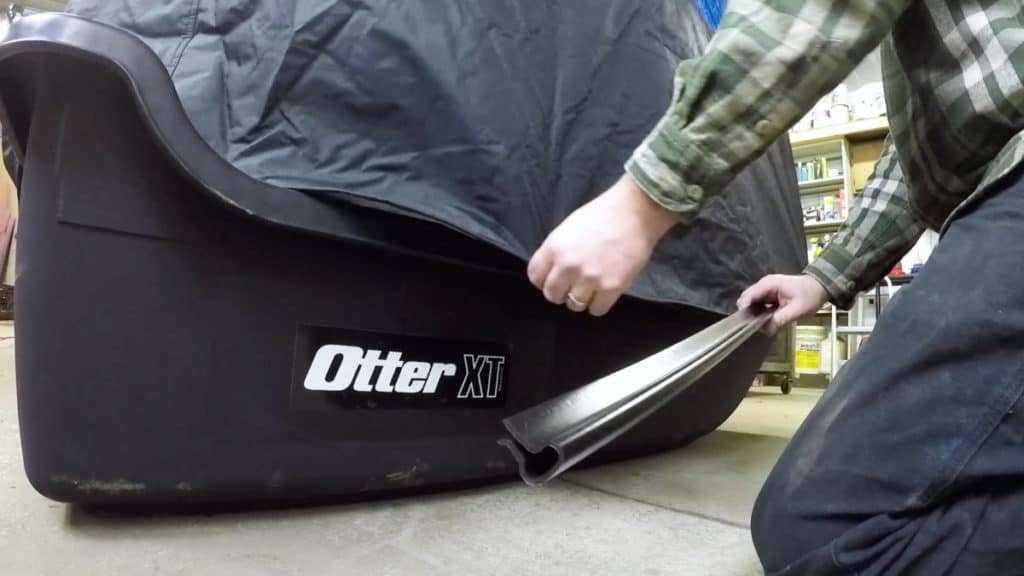
Installing The Canvas
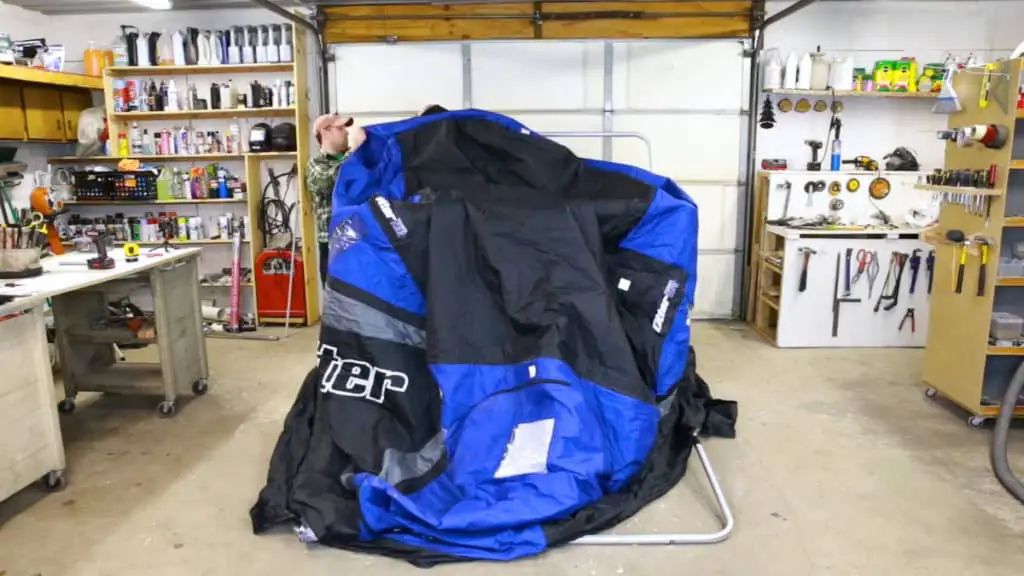
This part is pretty easy. Just unravel it and throw it over the top like a big blanket. The hard part is securing it to the sled. The kit includes some plastic channels that clamp the fabric to the lip on the edge of the sled. Then you put a screw through it to keep it from falling off. This was not an easy process, and there might have been some cussing going on when doing this part.
Set Up And Take Down
Now that the assembly is complete, its time to collapse it down and set it up a time or two, to make sure it’s working correctly and to get use to doing it. I highly recommend getting the cover that fits over the entire sled when collapsed. It keeps everything inside nice and dry and keeps things from falling out. It worked great for storage too. It keeps all the dust and critters out.
Loading
You will most likely need a truck to carry this shack. I have a 6 foot truck bed, and I think it would just fit in the bed with the tailgate closed if I didn’t have a tonneau cover on. When rolled up, the cover blocks the front six inches of the bed. I haul it with the tailgate down and a ratchet strap to hold it in place.
The specs say it weighs 120 pounds. I tried loading it by myself, and was just barely able to do it. When I have it loaded down with supplies, I don’t think it would be possible. Loading it with two people is no problem.
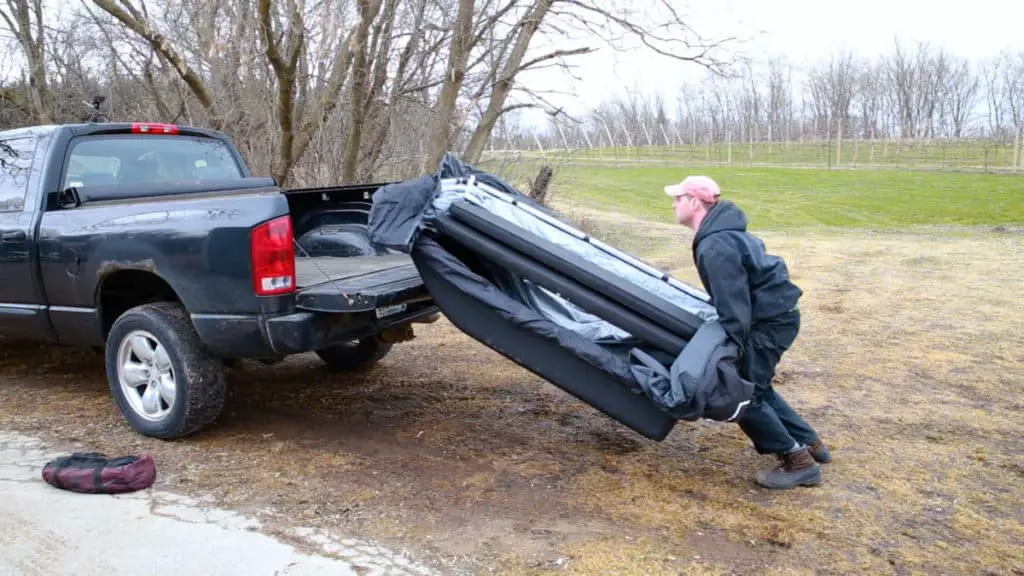
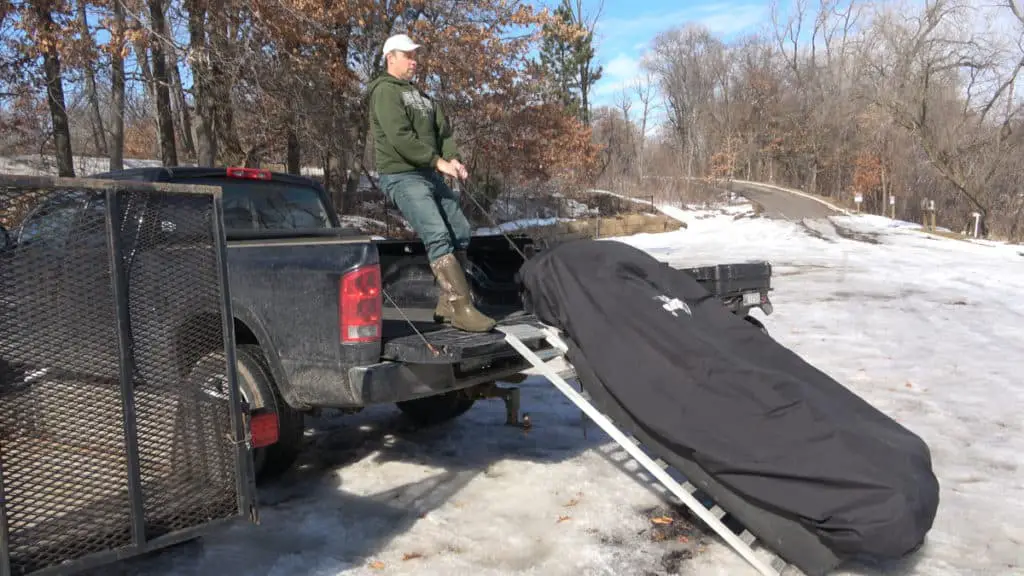
It still can be loaded with one person with the help of a ramp. I use the aluminum ramps made to load an ATV. I stand in the bed of the truck and pull on the sleds rope. It slides right up the ramp and into the bed of the truck. Its fairly easy, the only downside is having to carry the ramps with me.
Conclusion
I’ve used this shack for a couple of years now, and really love it. It is comfortable to fish out of and stays very warm inside. I have used it in -25 degree days and can sit inside with a T-shirt on. A little buddy heater will heat this shack, but when it gets below 10 degrees Fahrenheit, I find a sunflower heater works best. These actually work so well that I have to put it on low, then turn the knob to the tank almost off. I crack it open just enough to keep the heater running.
There is only one thing I think they could improve upon. The button that collapses the frame is small and hard to push with gloves on. I have seen other brands use a nice big lever that is easy to push. Not a big deal, but when its -25 degrees out, it would be nice not to take off my gloves.
Overall, I am very happy with my purchase. If you are in the market for an ice shack, the Otter brand is a good place to start.
I hope this article was useful. I have many more helpful and interesting articles, so please feel free to browse around and take a look. I’m also building a library of the best lake reviews on the web. Check back often, as I’m constantly adding new lakes.
Thanks for reading, and good luck out on the lake.